Clarinet - Getting Started
Welcome to Musical Instrument Hire. Our instruments are very rarely damaged in transit, but a quick inspection of the clarinet and its accessories is worthwhile. Any major damage is easy to spot. Please inform us, as soon as possible, if this should be so. We strongly recommend that you work through the following steps before playing the clarinet.
Clarinet notes & fingering
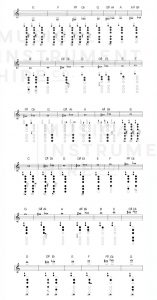
Our clarinet chart shows the notes and fingering for the clarinet. In most cases there are more than one way to get a note, this is called alternate fingering.
Each note has the most common fingering displayed first, followed by any alternative fingering if available.
Click on the image to view full size
Parts of the clarinet
Putting the clarinet together
The clarinet can only fit together in one way. It is good practice, and essential that you do not drop any sections of the clarinet! The keys are delicate, and the slightest knock can affect the whole mechanical set up of the instrument.
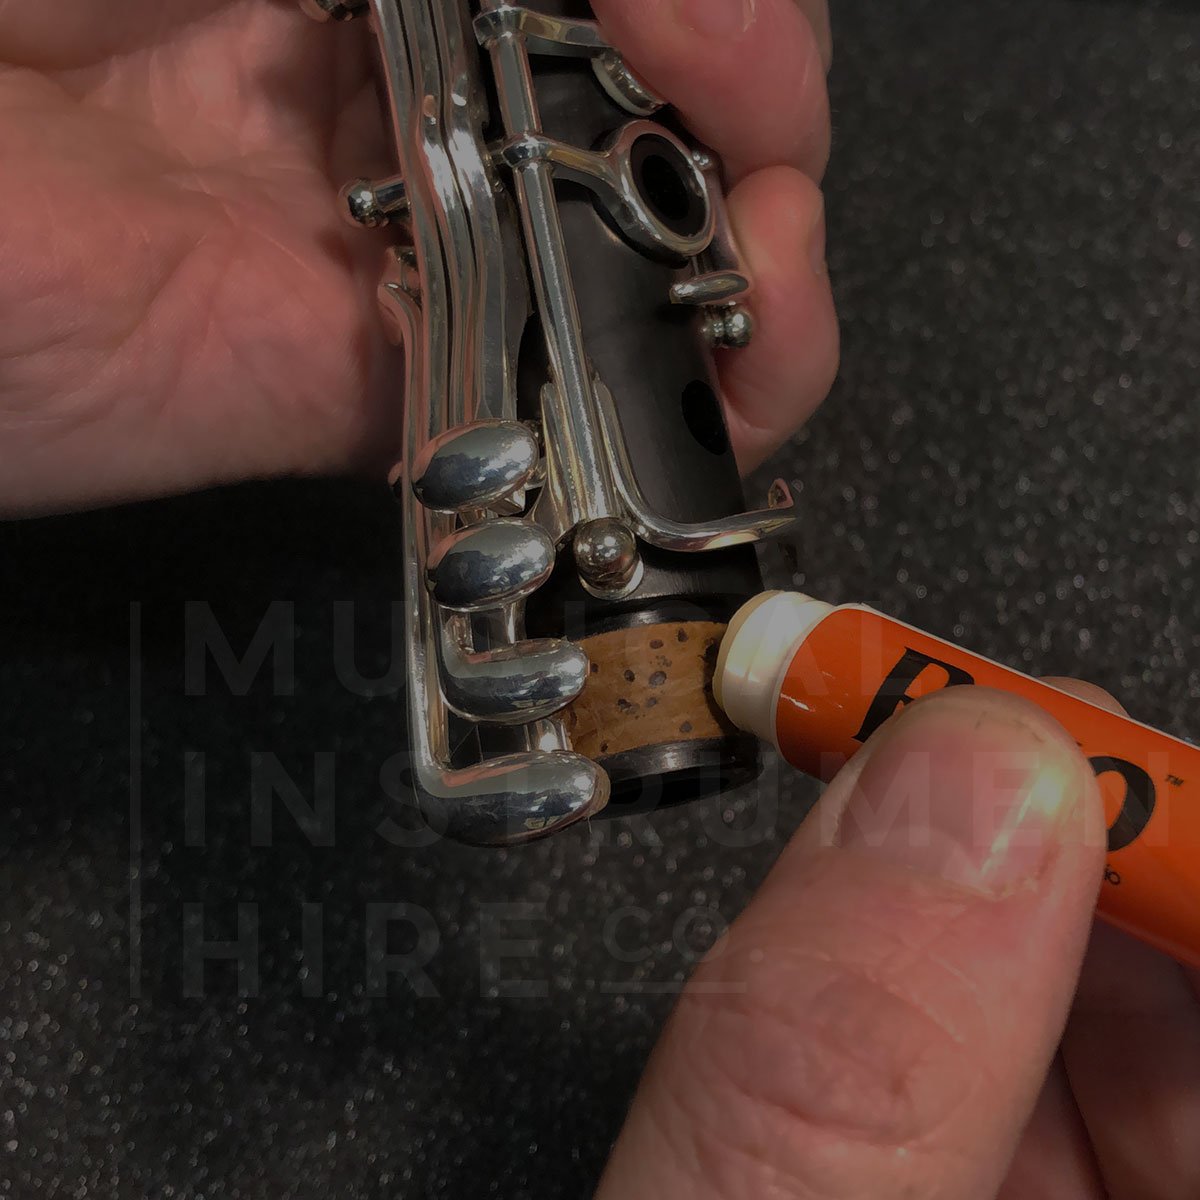
The easiest way to assemble the clarinet is to put the two main sections, upper & lower joint, together first. If they are a little stiff you can apply a thin layer of cork grease to the cork around the top of the bottom section.
Mouthpiece, ligature & reed
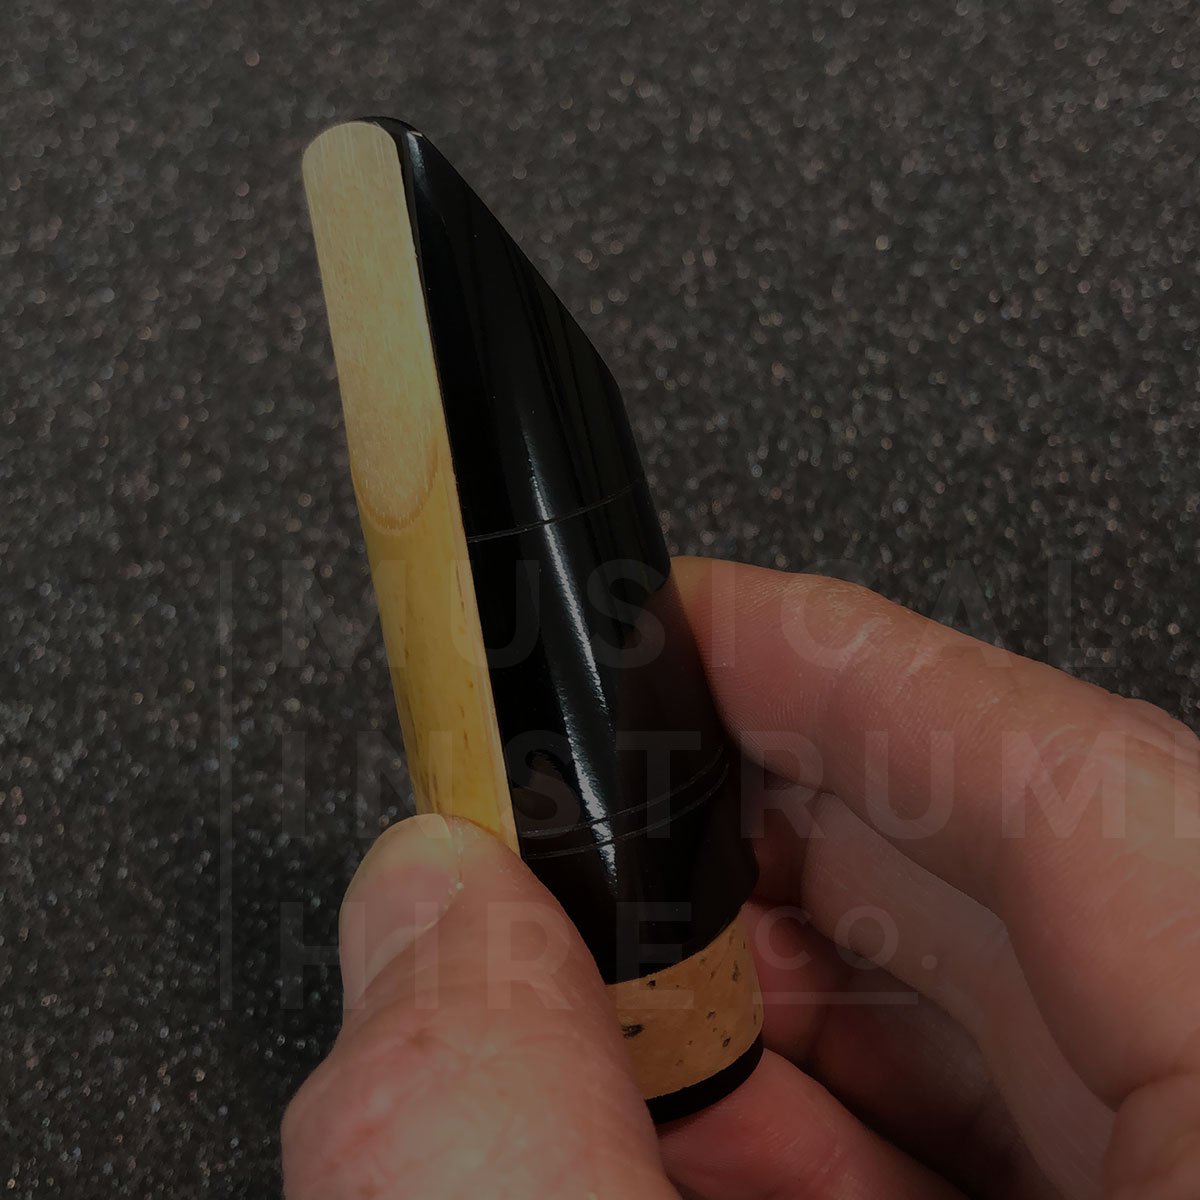
The flat side of the reed goes on the flat bed of the mouthpiece and needs lining up to the top of the mouthpiece. When holding up the mouthpiece, looking at the reed, you should see the smallest slither of the mouthpiece tip behind the reed. This is the correct position.
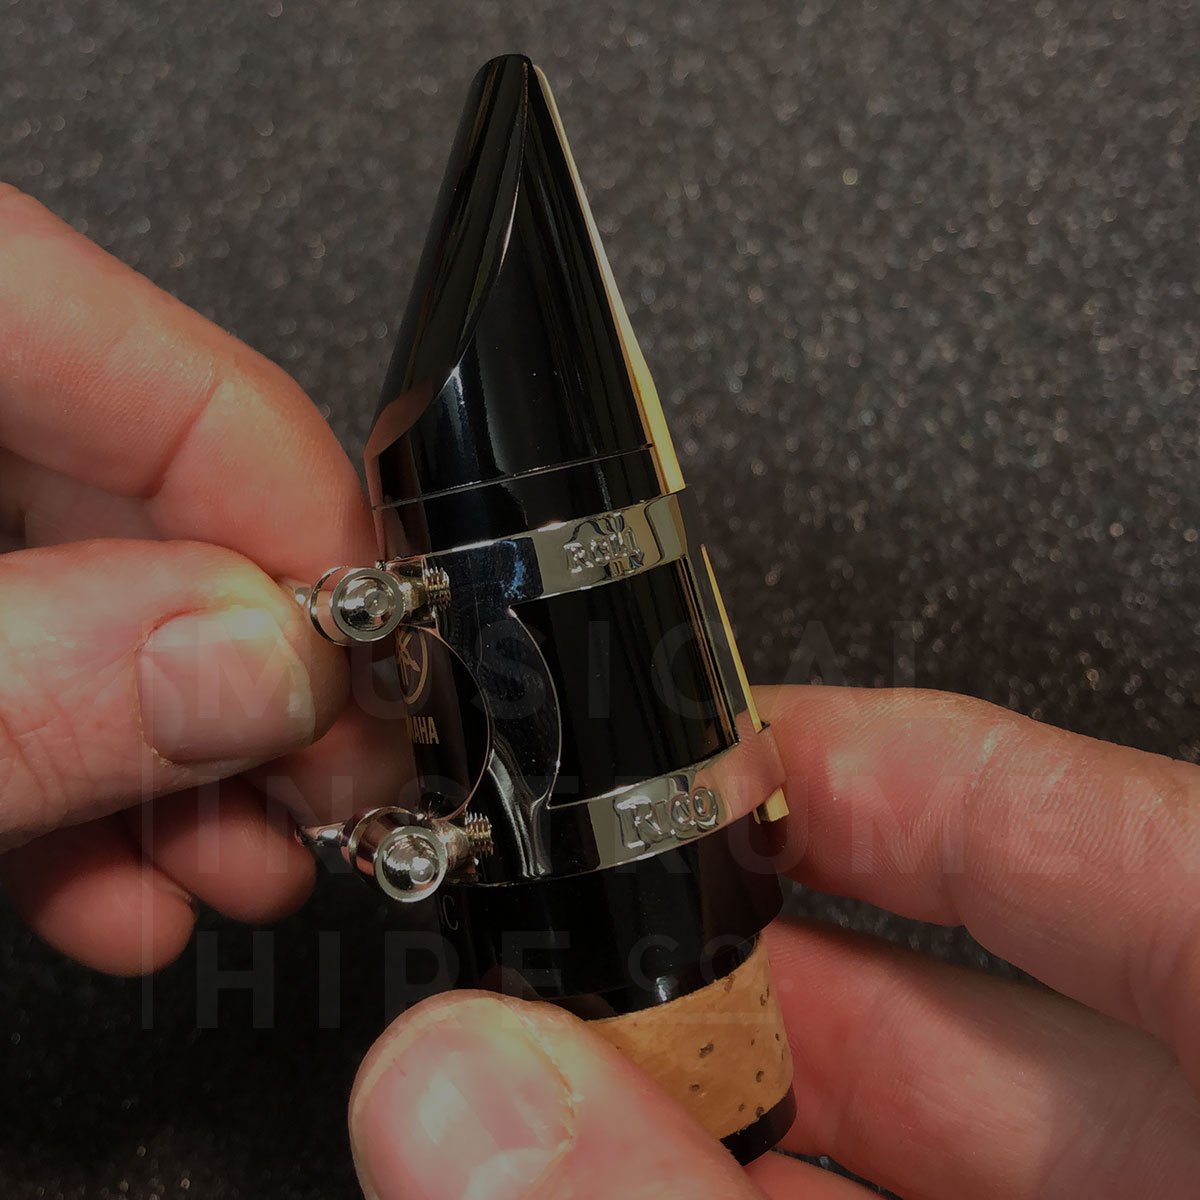
The ligature (metal cage) fixes the reed to the mouthpiece and needs to be the correct way up. It is shaped and tapered to the mouthpiece. If it is upside down it will simply lift or slip off and not hold the reed at all.
The two small screws fit over the reed itself and tighten up to hold the reed in place.
If the reed becomes chipped or split it will not work and needs throwing away and replacing. Equally the mouthpiece should be looked after as if this chips it will not work.
It will take a few goes to be easily able to assemble and dis-assemble the clarinet but over time it will be easier.
Holding your clarinet
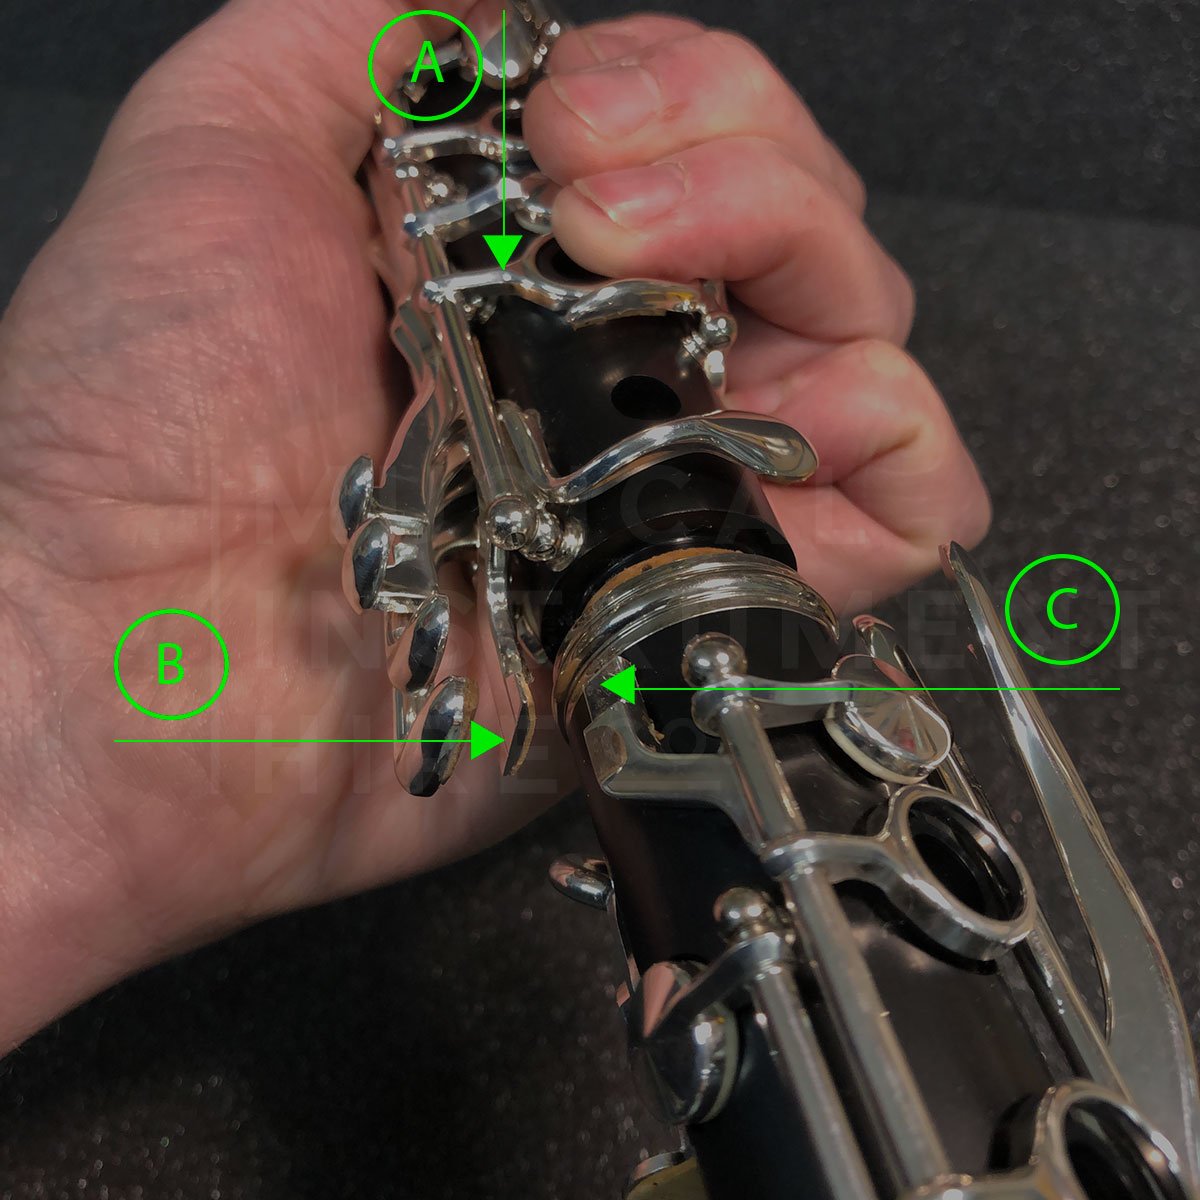
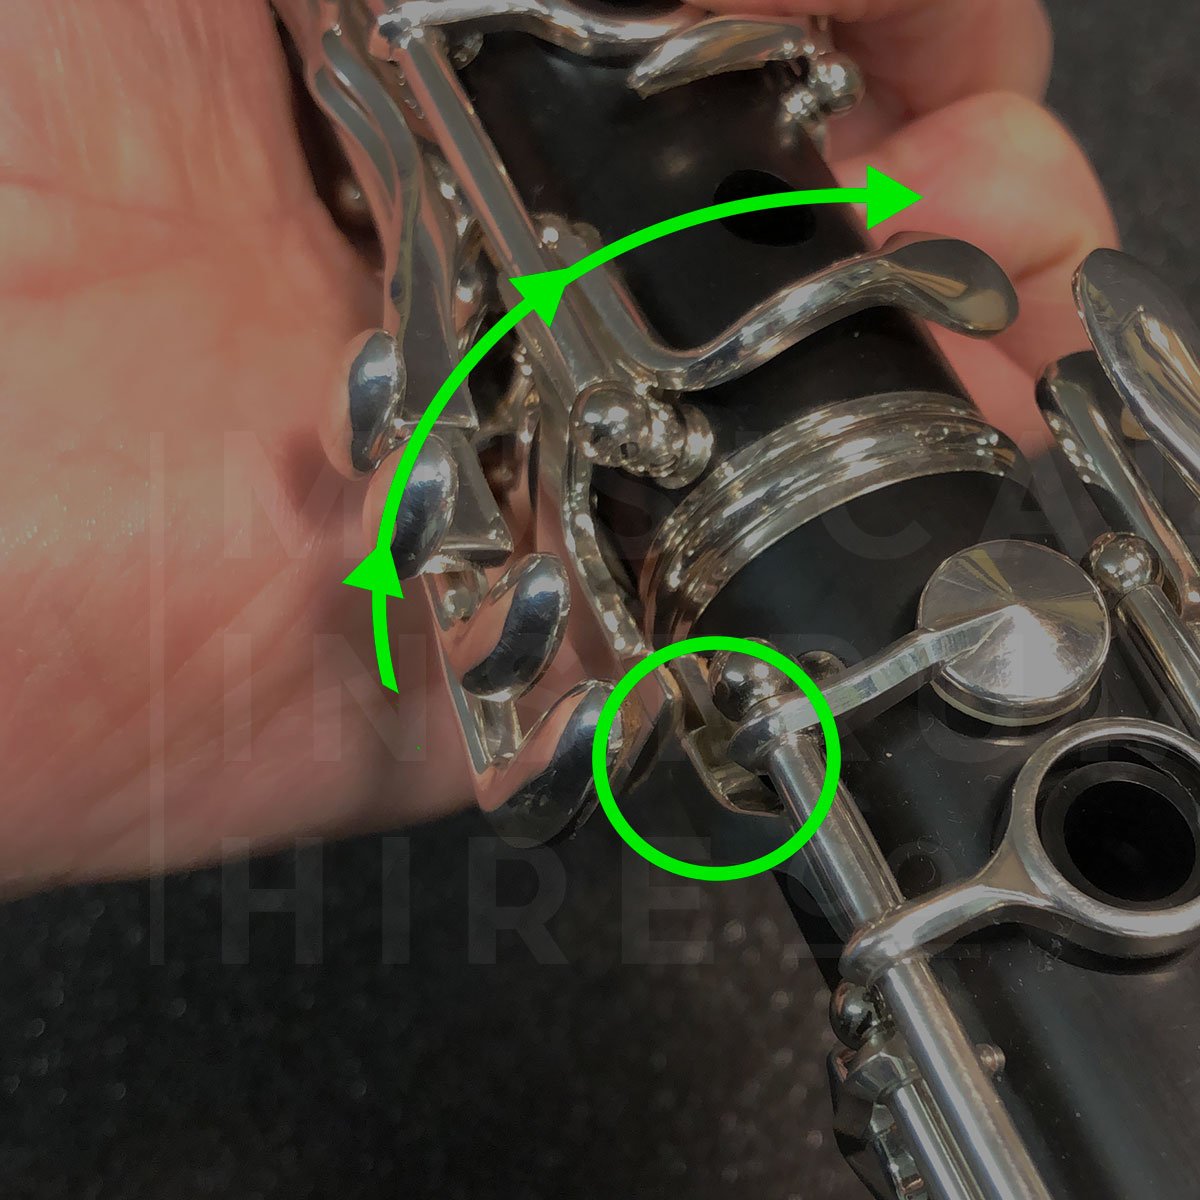
Once you have your clarinet assembled you need to ensure that the keys are lined up correctly. The mouthpiece and keys should all line up.
The reed/back of the mouthpiece faces you but otherwise the keys face outwards and your left hand will hold the clarinet at the upper joint and the right at the lower joint.
Your fingers should fall in line down the clarinet.
Your right-hand thumb has a thumb rest which will have a cushion on it to protect it from the hard metal that is inside the cushion.
Thumb rest & cushion
The clarinet thumb rest should take the majority of the weight of the instrument. You may wish to fit a cushion to your thumb rest giving a little more comfort, especially when you are starting out.
If the clarinet is a little heavy you can purchase a sling or harness that clips onto the back of the clarinet and goes around your neck. This will take most of the weight off your thumb.
First notes
To get a sound out of the clarinet you will blow through the mouthpiece. It is a fine art and important to understand that your air is going between the reed and the mouthpiece.
If you squeeze the reed too tightly between your lips, there is no chance of any air passing through and thereby no sound will be produced. You do not put the whole reed in your mouth. A simple guide is to put your thumb across the top of the reed, make a pencil line on the reed and this is a guide to where your mouth should go. To make life simpler you can just use the mouthpiece of the clarinet and practice getting a sound. Your mouth needs to be in exactly the right position to get a good, solid sound and with practice and patience you will find where this is. Looking in a mirror whilst doing this can help.
Care & maintenance
When you have finished playing your clarinet it is good practice to store it in its case. The cloth in the case needs to be pulled through the inside of the clarinet. This removes excess moisture from the clarinet which helps keep the pads (the bits under the keys) from falling apart.
The pads are important as they ensure that the clarinet air tight as each note of the clarinet is played. If they do not seal correctly there will be certain notes that do not play well or sound muffled. The main body of the clarinet can be simply wiped with a clean cloth. This will remove deposited grease from your hands and lips.
It is not a good idea to drink or eat whilst playing the clarinet as the food and drink debris will end up down the clarinet and over time build up a nasty residue. The reed should be carefully removed and stored in its own little plastic case.
The main body of the clarinet can be simply wiped with a clean cloth. This will remove grease from hands and lips. It is not a good idea to drink or eat whilst playing the clarinet as the food and drink debris will end up down the clarinet and over time build up a nasty residue.
The clarinet should be stored in its case in normal temperature conditions. Leaving it in a car that gets hot or cold, or by a radiator is not recommended.
Clarinet Reeds
Most beginners will start with a reed that is 1.5 strength. They then go up in half points; 2, 2.5 etc. The number relates to the thickness of the reed and as you improve and get a bigger or stronger tone you will benefit from moving up the grades of reed to enhance the sound that you are producing.


