Welcome to Musical Instrument Hire. Our instruments are very rarely damaged in transit, but a quick inspection of the trumpet and its accessories is worthwhile. Any major damage is easy to spot. Please inform us, as soon as possible, if this should be so. We strongly recommend that you work through the following steps before playing the trumpet.
On this page...
Parts of the trumpet
It is worth familiarising yourself with the different parts of the trumpet. It helps when you are taking your first steps into trumpet playing and using written, or visual guides.

Mouthpiece, holding, & playing your trumpet
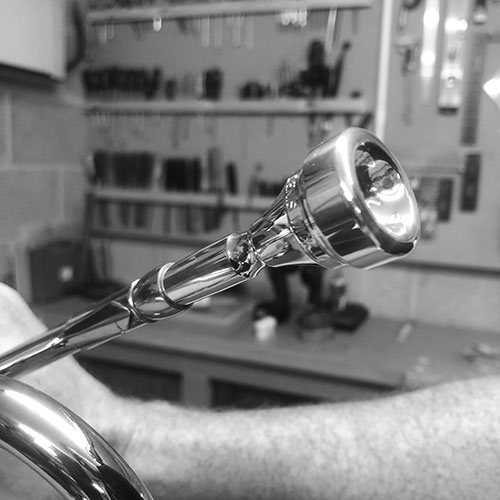
The mouthpiece should be carefully placed in the trumpet for use. It shouldn't be jammed in, or left in when not playing the trumpet. If a mouthpiece is pushed too far in, it may become stuck and will need removing by a technician. The trumpet often will not fit in the case with the mouthpiece left in.
Getting a sound out of the trumpet is by blowing through the mouthpiece. It takes a little practice to "buzz" the notes and it is good advice to practice with just the mouthpiece off the trumpet to learn the technique. Your lips will often tingle once you have played and achieved a good tone.

Valves & Slides
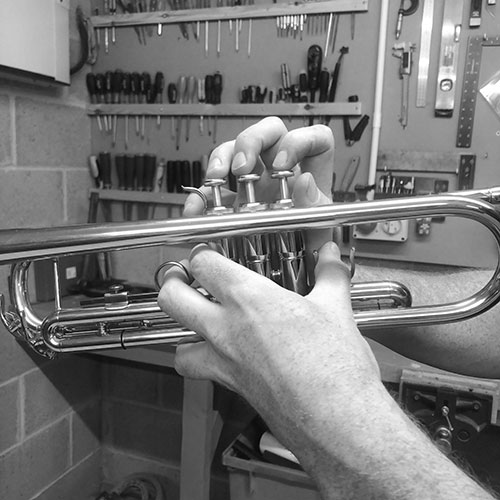
To create the different sounds on a trumpet there are three valves. Between these three valves a trumpeter will learn all the notes in the full range of the trumpet which is up to three octaves (around 39 notes).
It isn’t easy to get the very high notes and only a very good brass player will be able to reach these. You can also create micro tones on a brass instrument which adds to the notes available. A student will learn one note at a time and will quickly grasp the basic idea of how notes are created.
It is then very important that a brass teacher teaches the student to listen closely to the note they are playing. The same fingering on the valves creates many different notes and the embouchure then becomes important as to what note is being played. With no valves pressed down there are seven different notes available!
There are three valve slides on a trumpet. The first slide lowers the highest note a whole step, the second slide lowers it a half step and the third slide is commonly used to produce notes that are lower in register.

Oiling the valves
Removing & Oiling Valves
When you are first starting lessons and haven’t quite got the knack of removing valves you don’t always need to remove them completely. You can unscrew them at the top and slightly lift them, squirt in a little valve oil and put them back. With a few ups and downs on the valve it should release and be perfectly playable once again.
Replacing the Valves
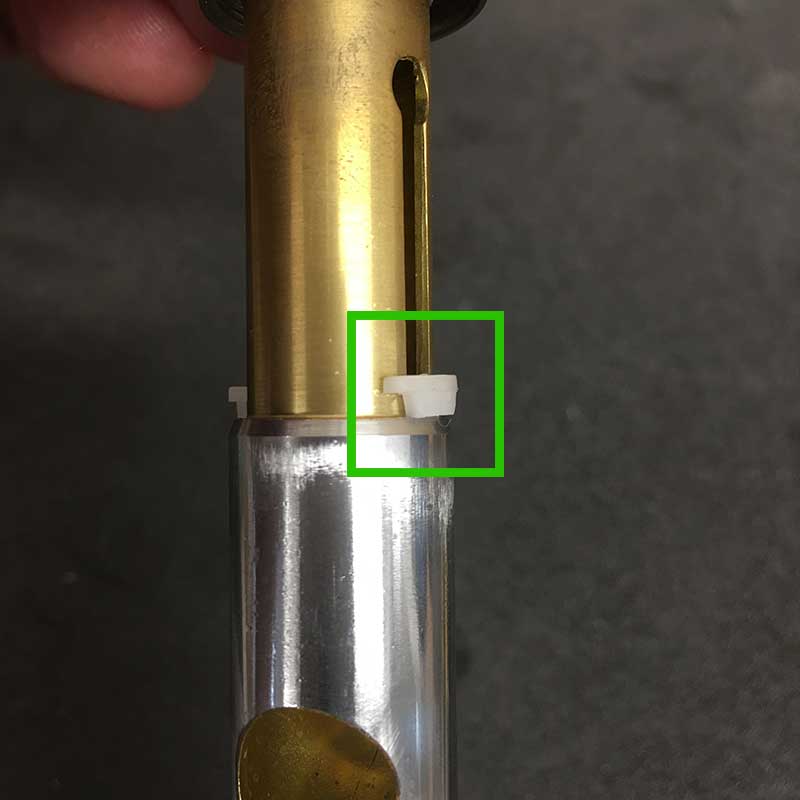
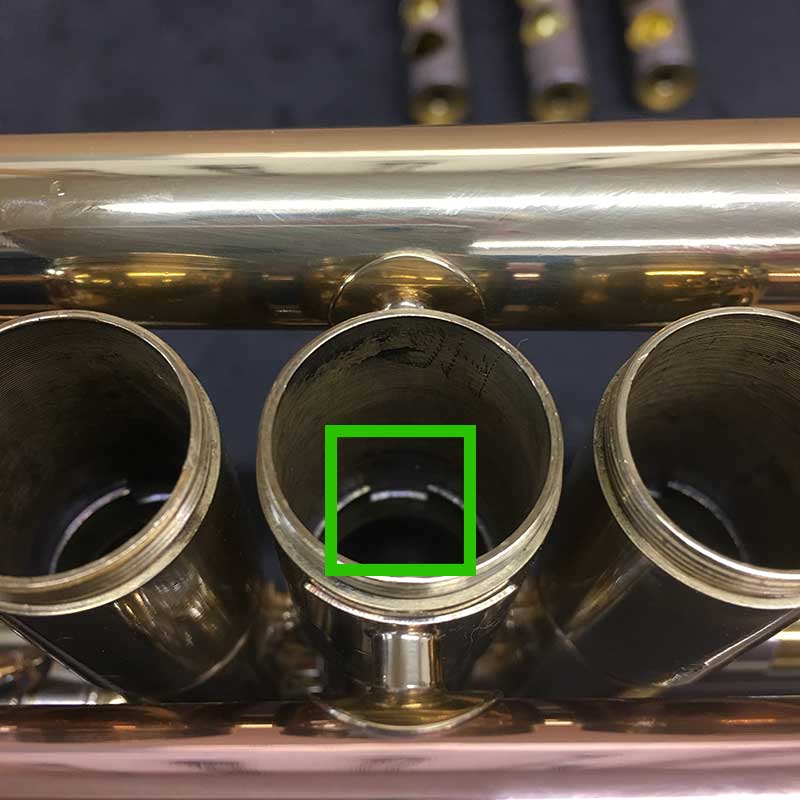
If the valves are lifted out they will need to be put back in exactly the right place. If they are turned at all they will come out of line - this isn't a problem at all, but you will need to put them back the correct way round. There are small plastic guides that you will see on the valves and they need to slot back in the right way round in order that the trumpet or cornet plays.


