One this page you will find:
- Peg fitting - Help making tuning easier
- Nut slot & string height - Strings that are too high are hard to play!
- Soundpost fitting - The soul of the instrument
- Bridge fitting - A perfect fit makes for a better sound
- Bridge & tailpiece position - Exact positioning is so important
- Violin set up video - A visual guide
Violin/Viola Set up
There are many different processes when setting up a violin or viola. All these processes combined makes a huge difference to the violin/viola in how it sounds, plays and feels. At a professional level even the smallest change can make a huge difference to a player, but it is also true that a student violin or viola can play easier, hold its tuning better and sound better when properly set up.
All of the violins and violas that we stock have been through this very process. In between hire agreements we also check every violin/violaover to ensure they are still as they should be. This makes all our violins and violas sound, and play better, which will only help and encourage someone learning to play.
We have outlined below the main steps involved in the violin/viola set-up.
Peg Fitting - Without a really good fit tuning can be very difficult
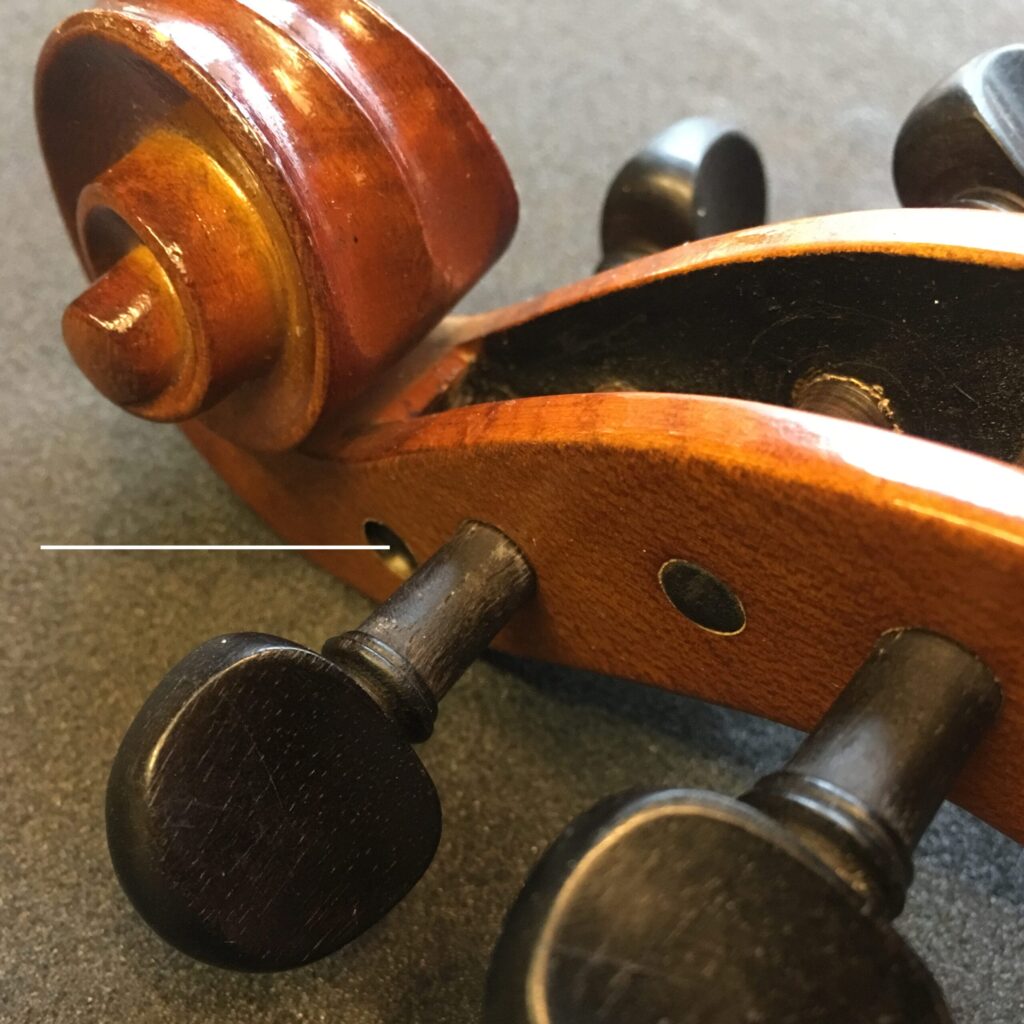
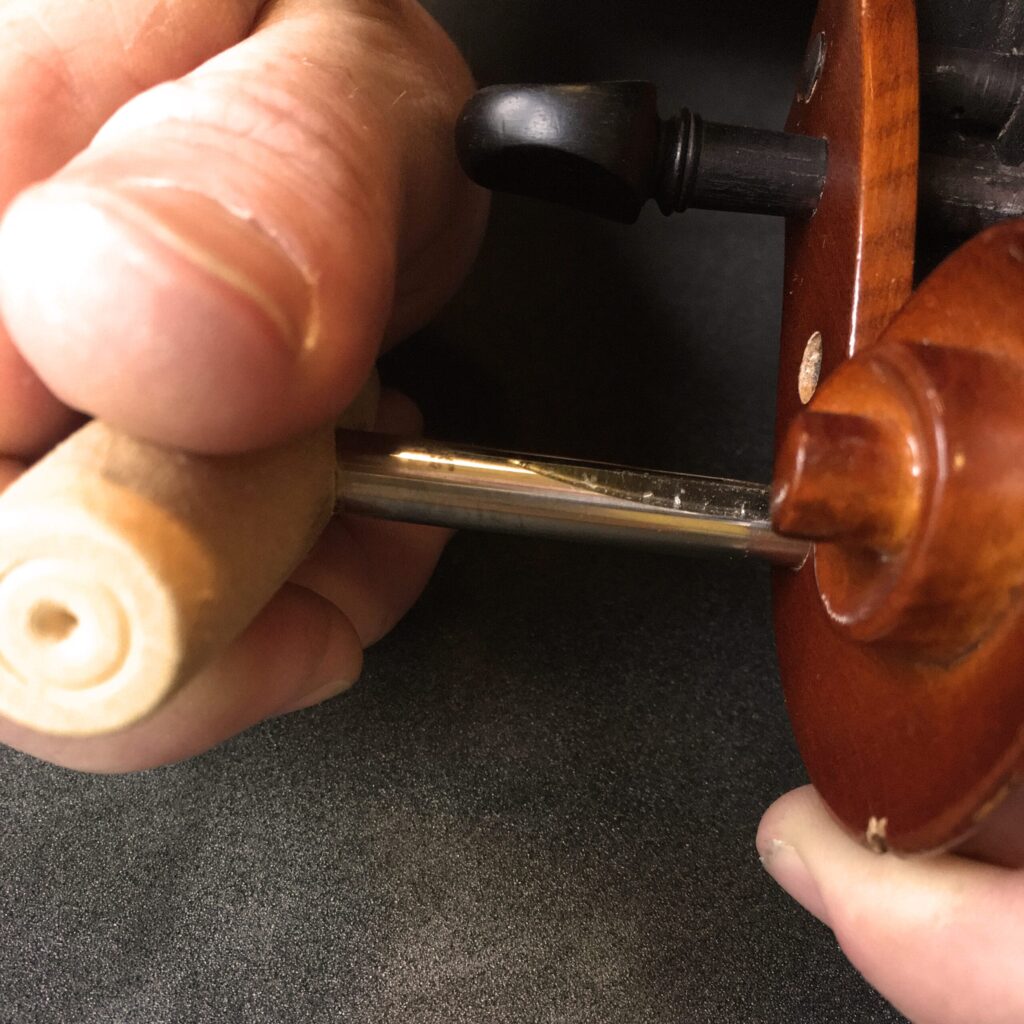
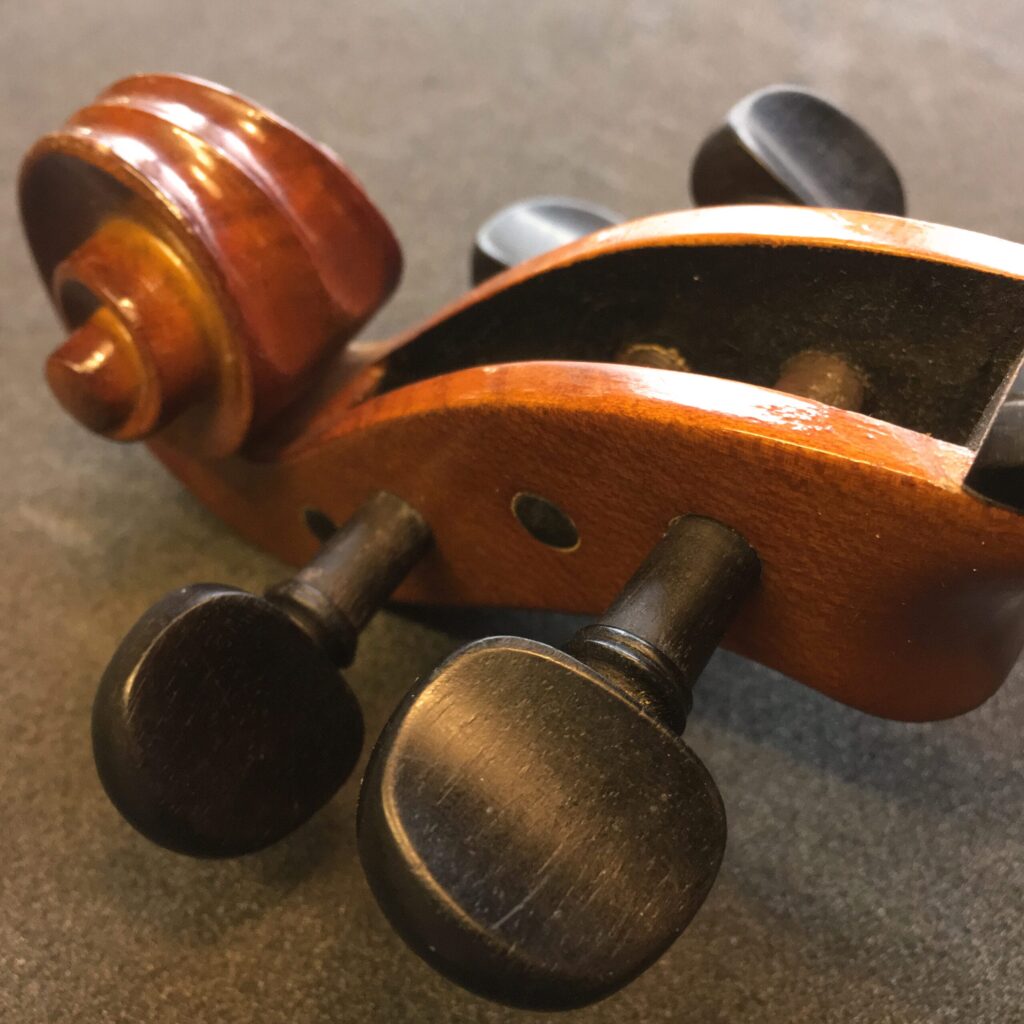
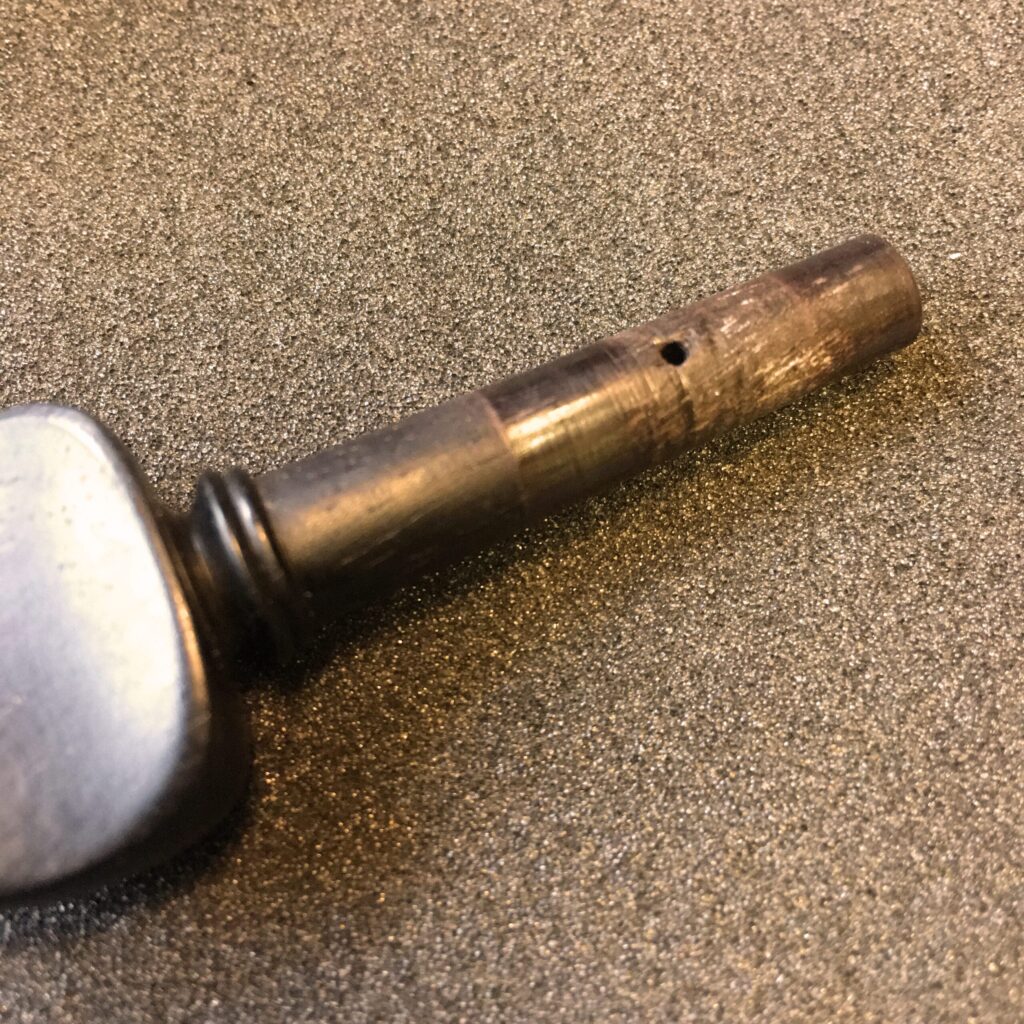
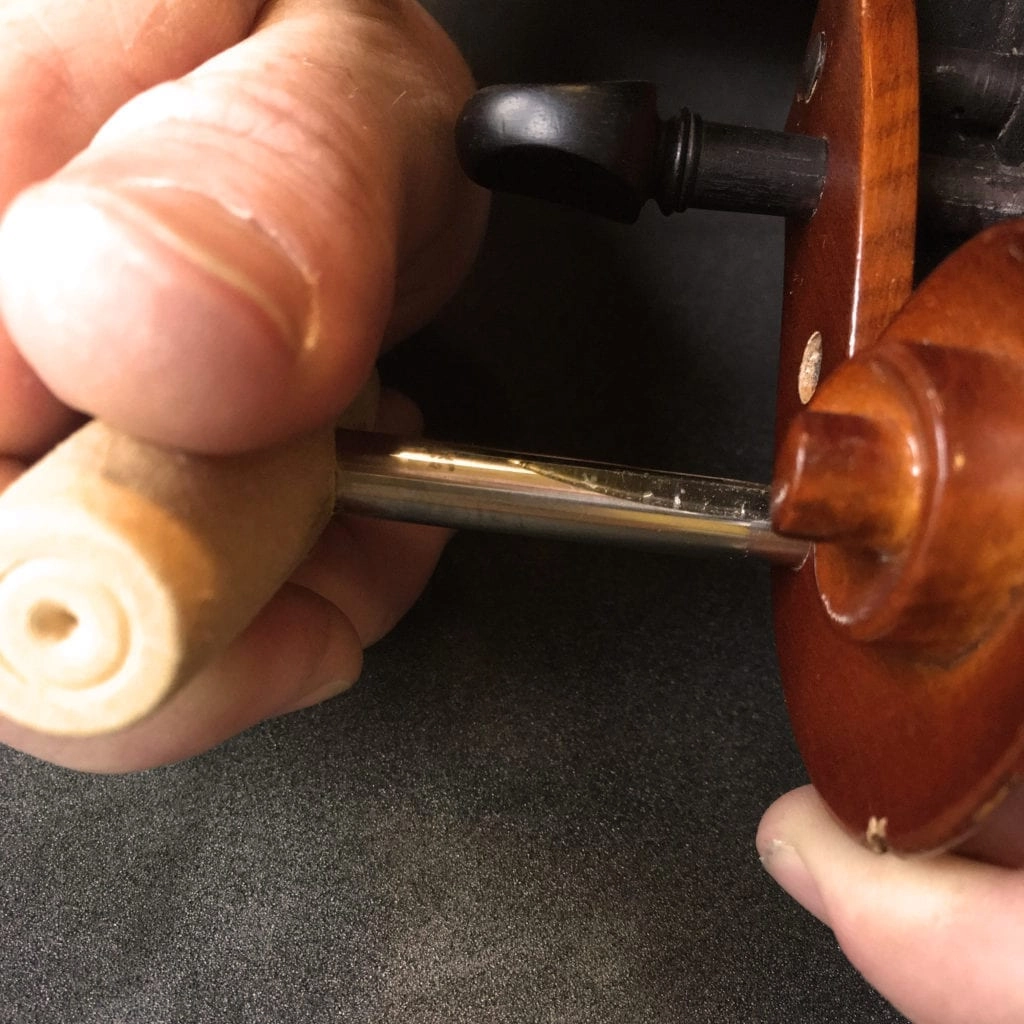
There is nothing worse than a violin or viola that does not stay in tune. The main reason for this issue is ill fitting violin pegs. We first check the violin/viola pegs themselves; they should be perfectly cylindrical and taper towards the end. If they are not, we use a peg shaper (just like a pencil sharpener) to make sure they are perfect. We then check the violin/viola peg box, the pegs should pass through and just show on the other side (they rarely do on new violins/violas out of the box) to ensure they grip well, but also turn freely and easily. To make the pegs fit perfectly we use a reamer to shave small amounts of wood away.
Nut slot and string height
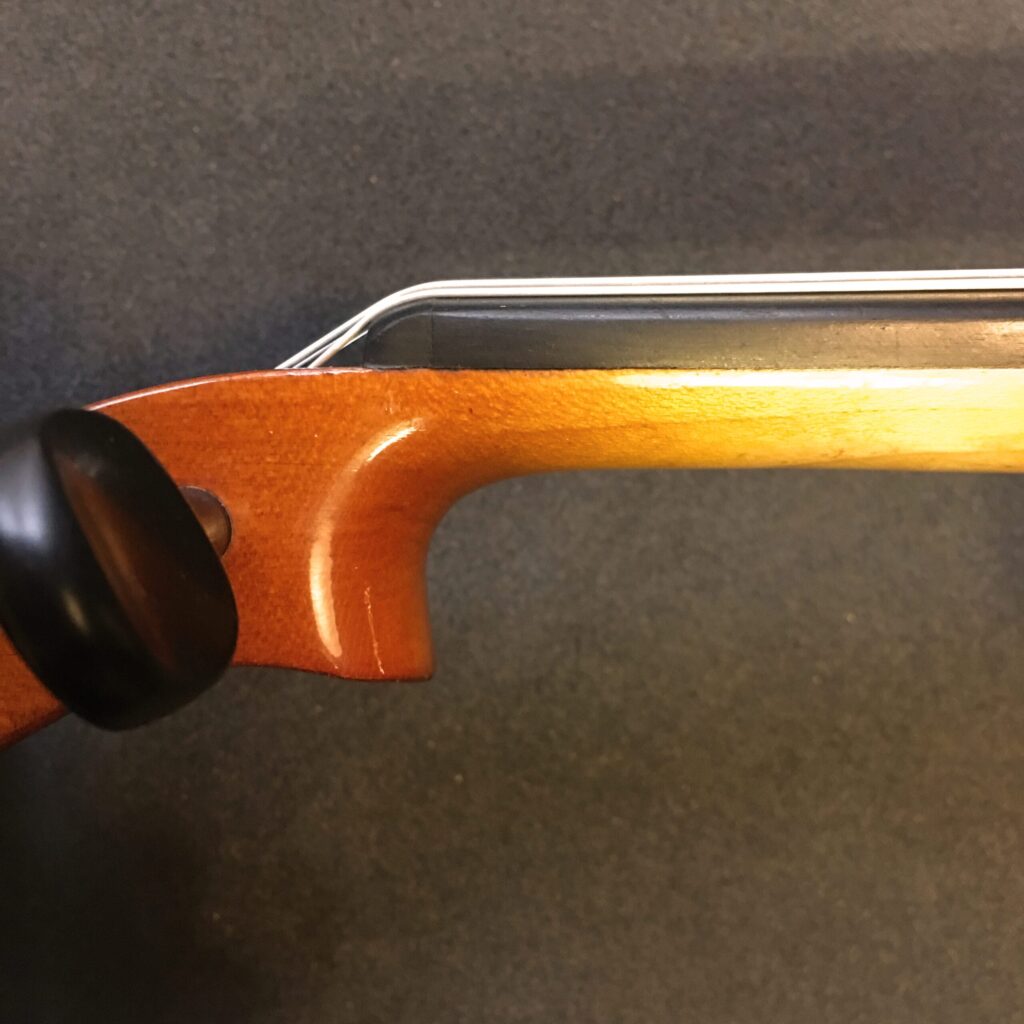
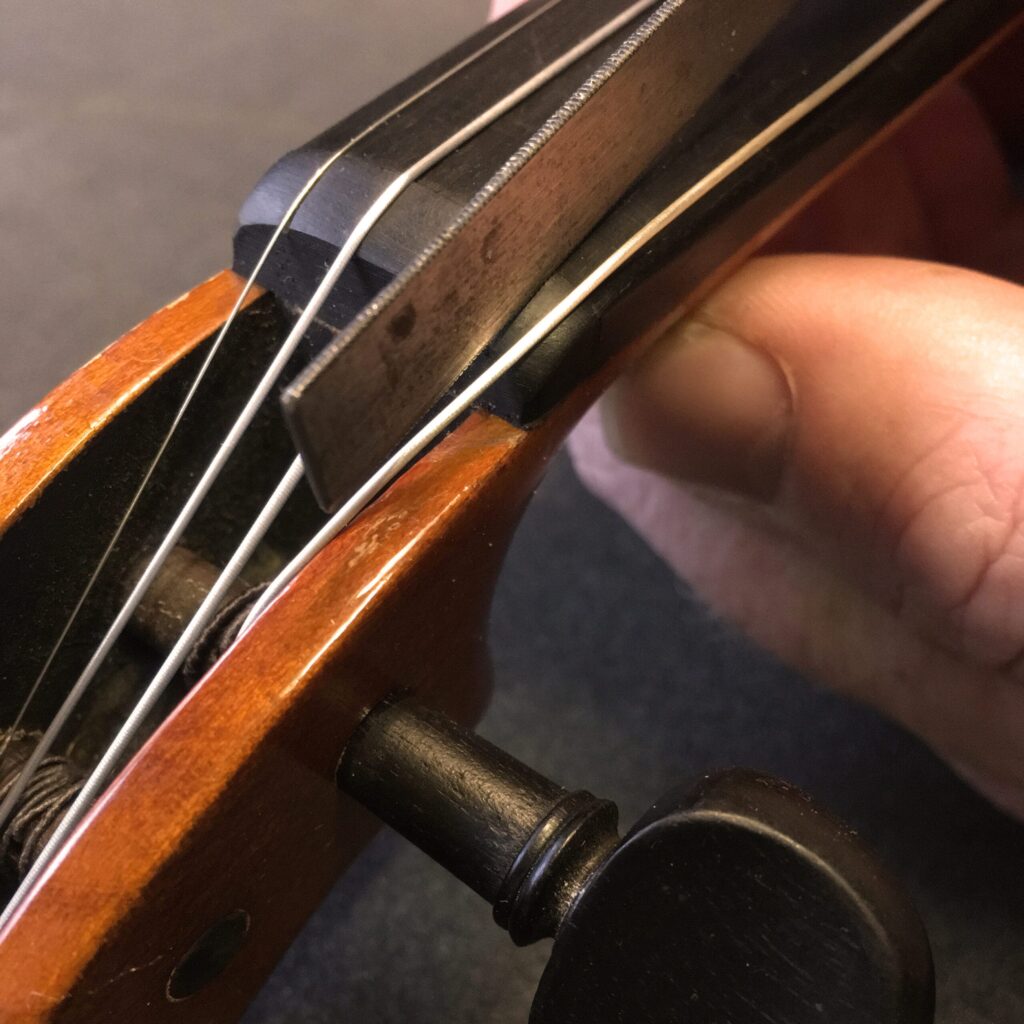
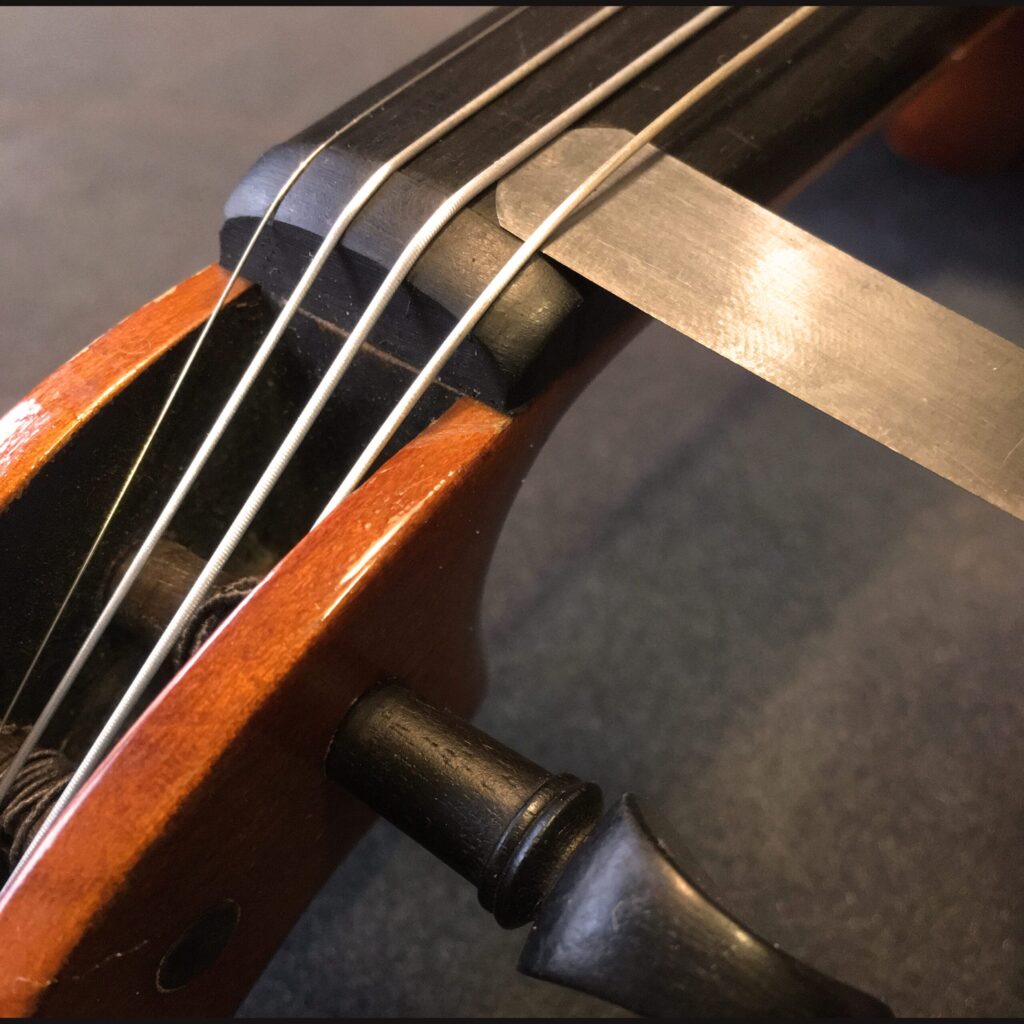
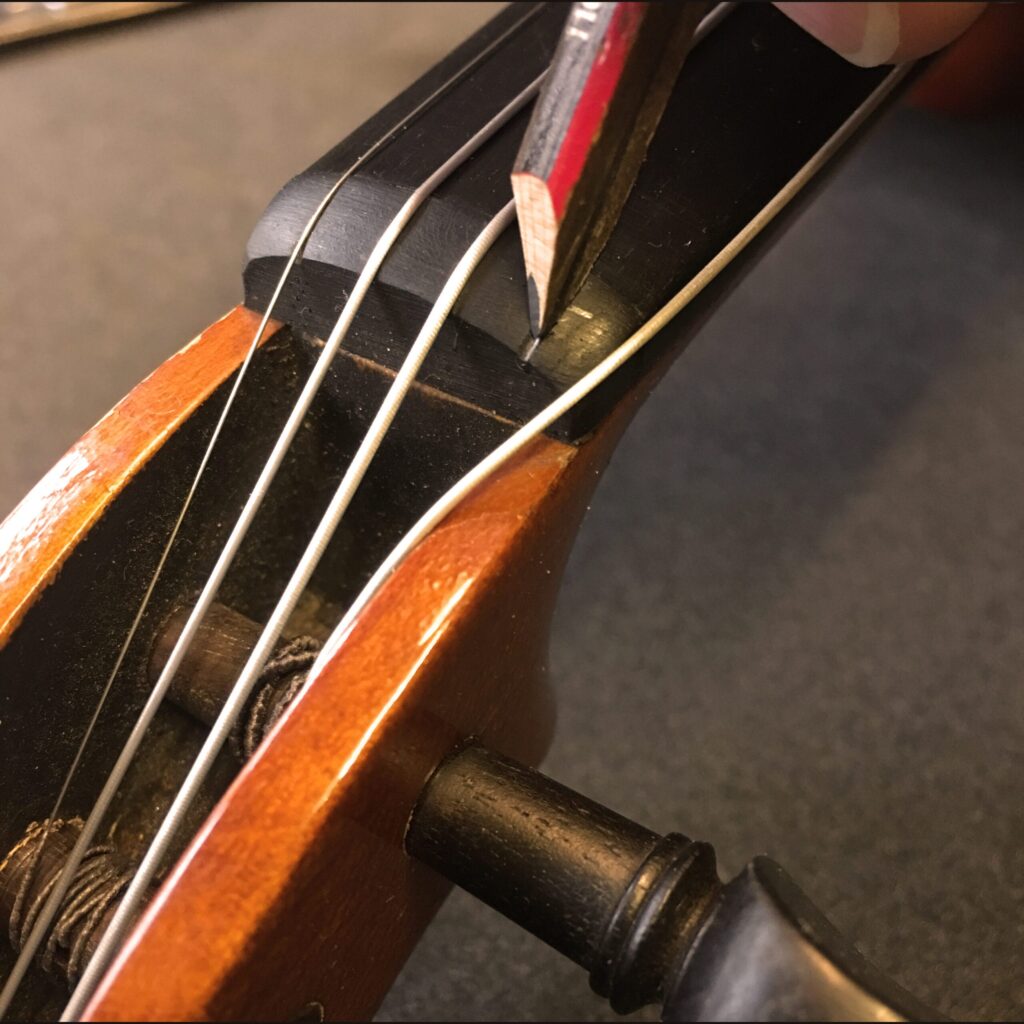
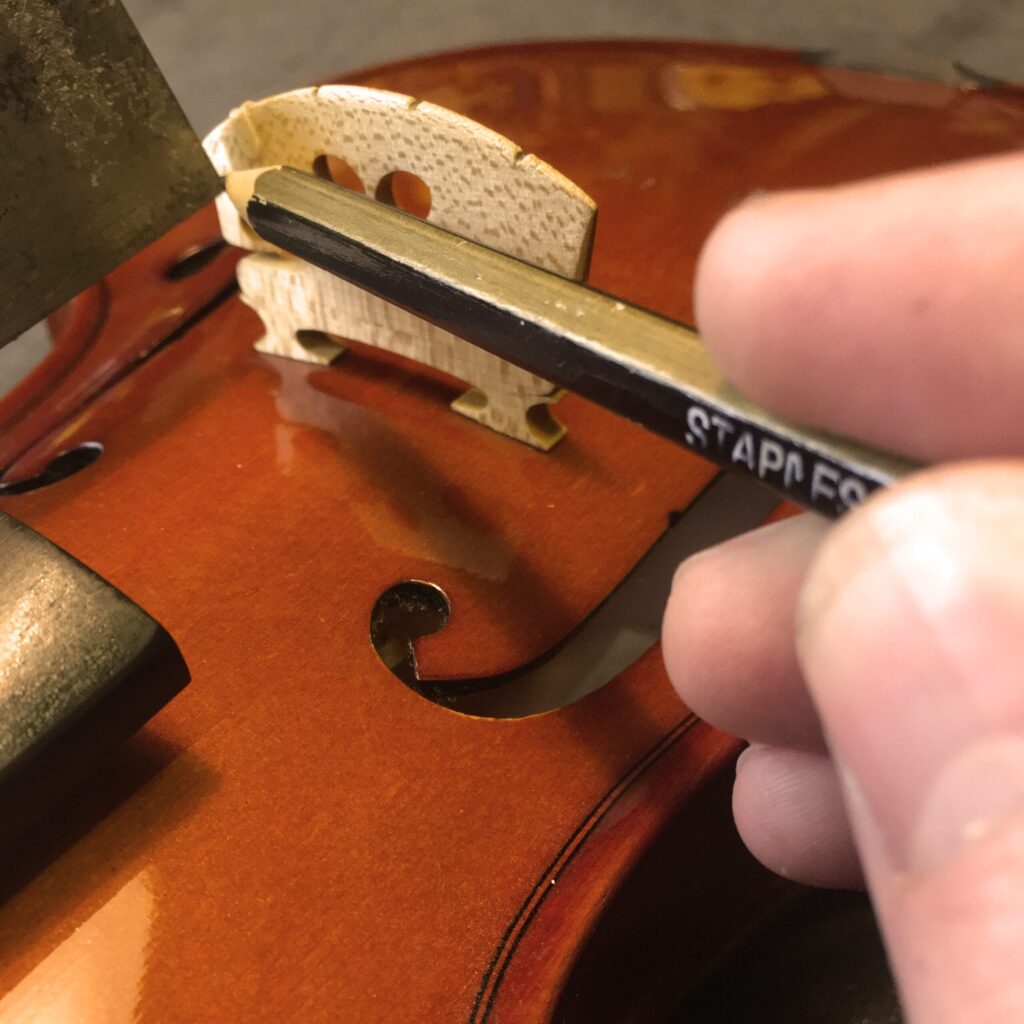
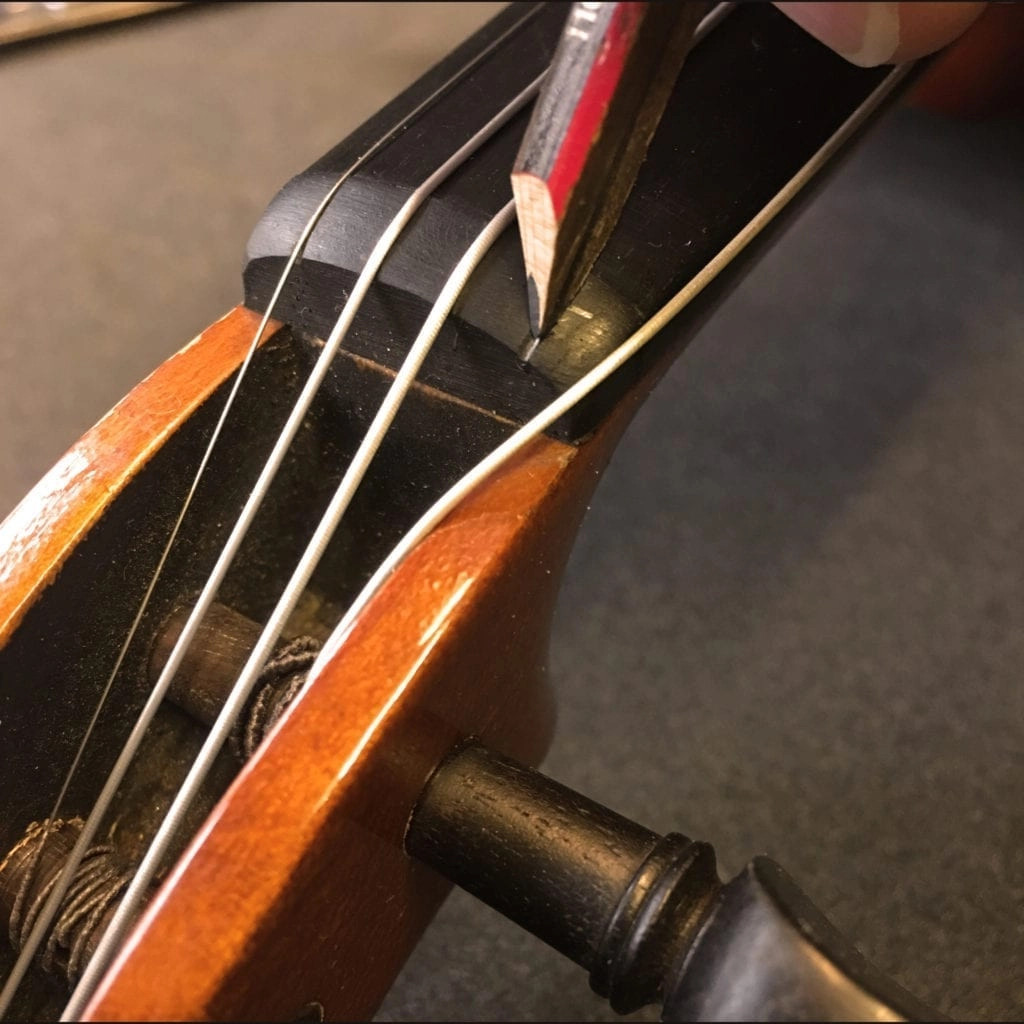
Any new violin or viola will need the violin/viola nut adjusting so the strings are the correct height form the fingerboard. If the string is too high the violin/viola becomes harder to play, especially for a beginner. Even the smallest adjustment can make a huge difference to the player. The nut slots also have to be filed at the correct angle, and a small amount of graphite dust is inserted making the string glide over the nut which will also help with tuning.
Need to hire a violin? Hire today in our online store
Soundpost Fitting
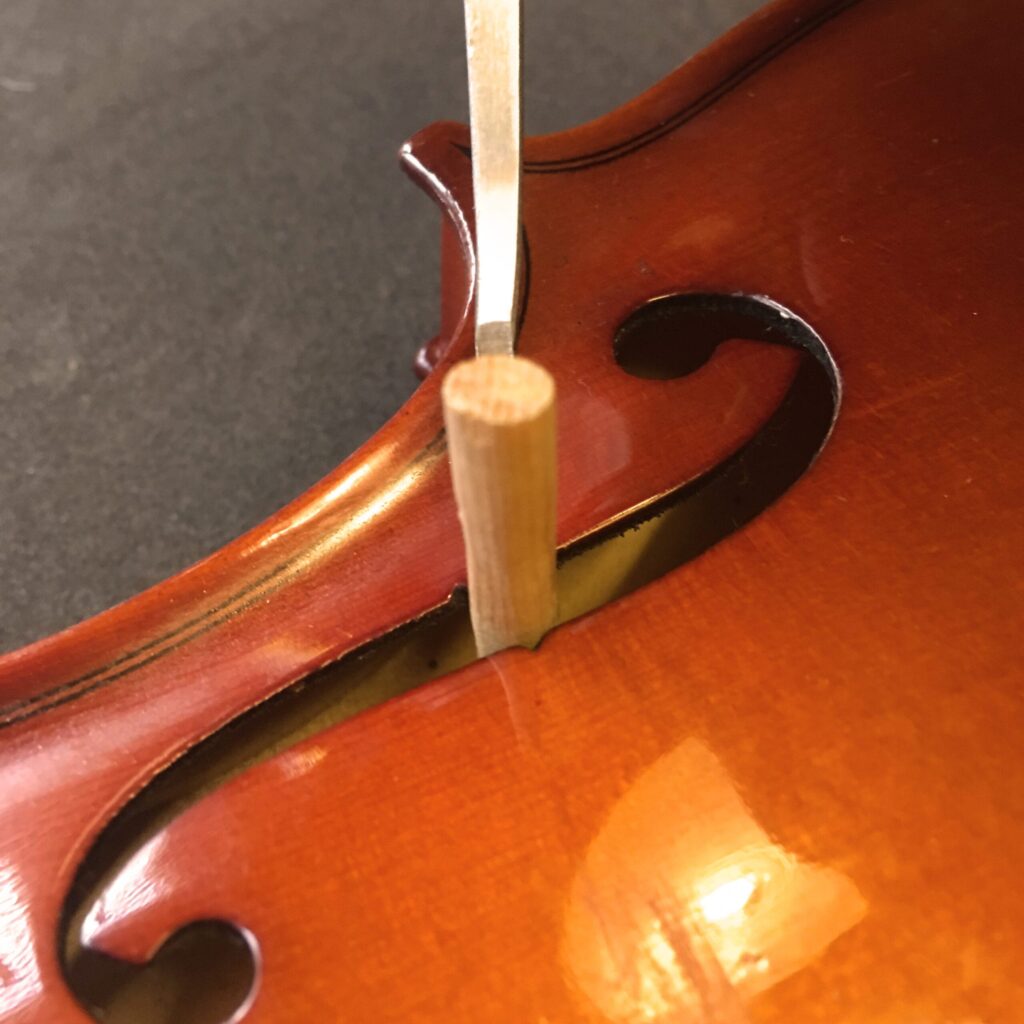
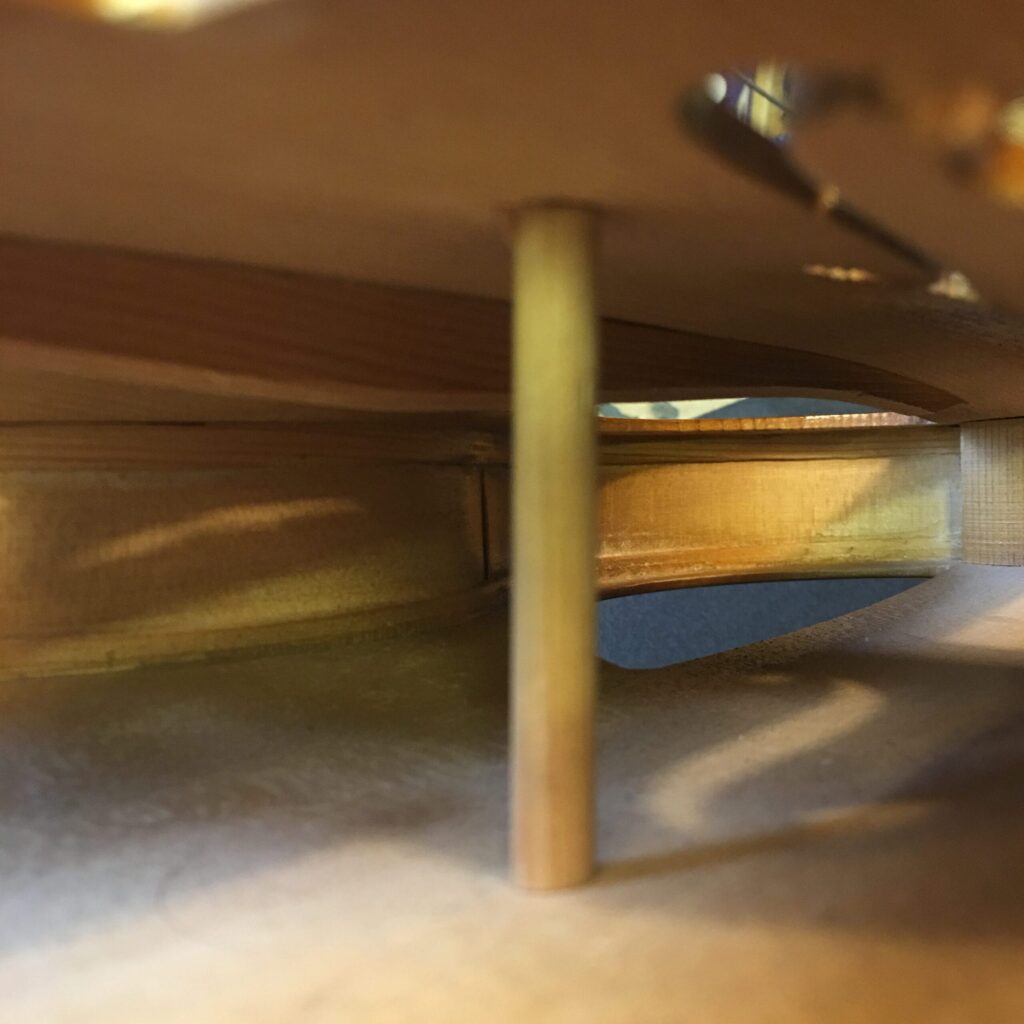
This a a hugely important part of the set up process. It takes some practice and skill to get right! The sound post is inside the violin/viola and therefore fitting it takes some skill but with enough practice it can be fitted to the contour of the violin/viola body. The idea is to have as much surface area as possible connected trough the sound post. It is so important for the sound of the violin/viola that it is often referred to as the 'soul' of the instrument, if it is moved one way or the other it can dramatically change to overall sound of the violin/viola.
Bridge Fitting
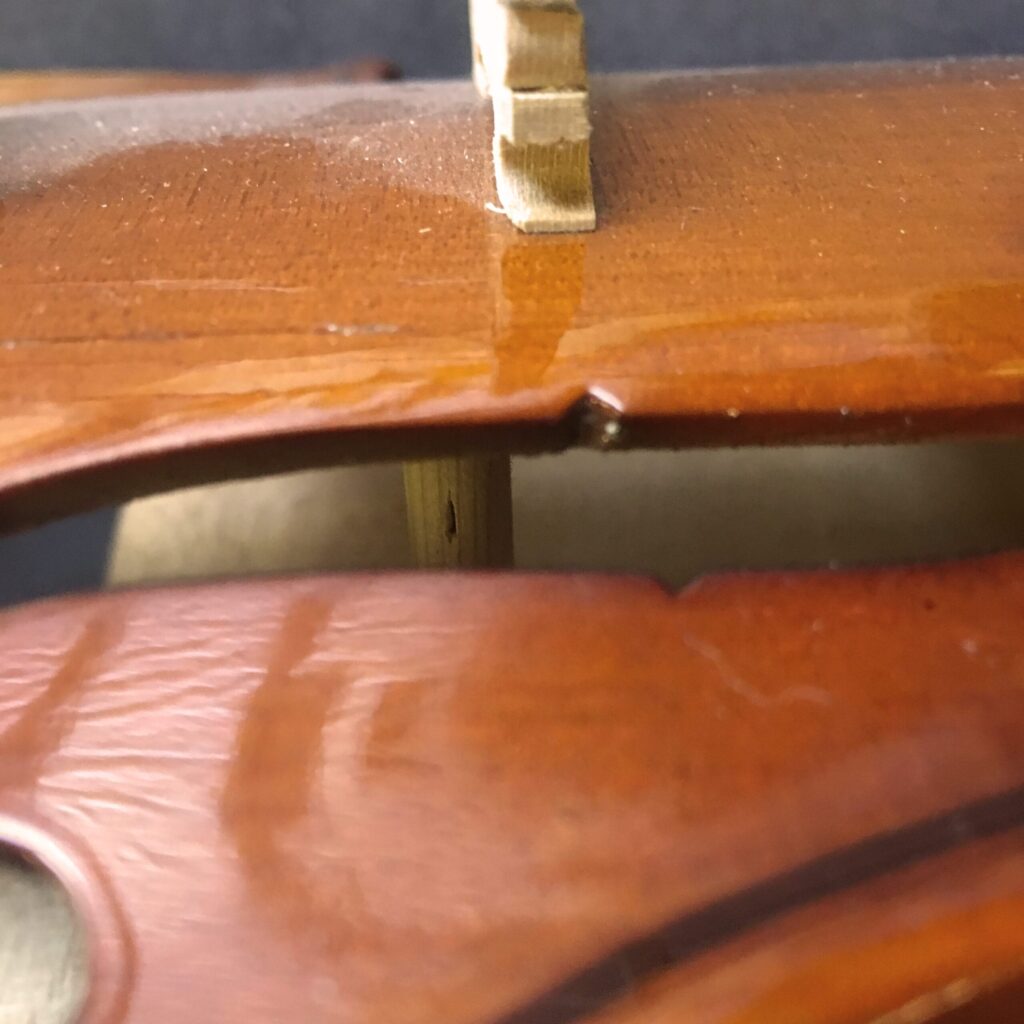
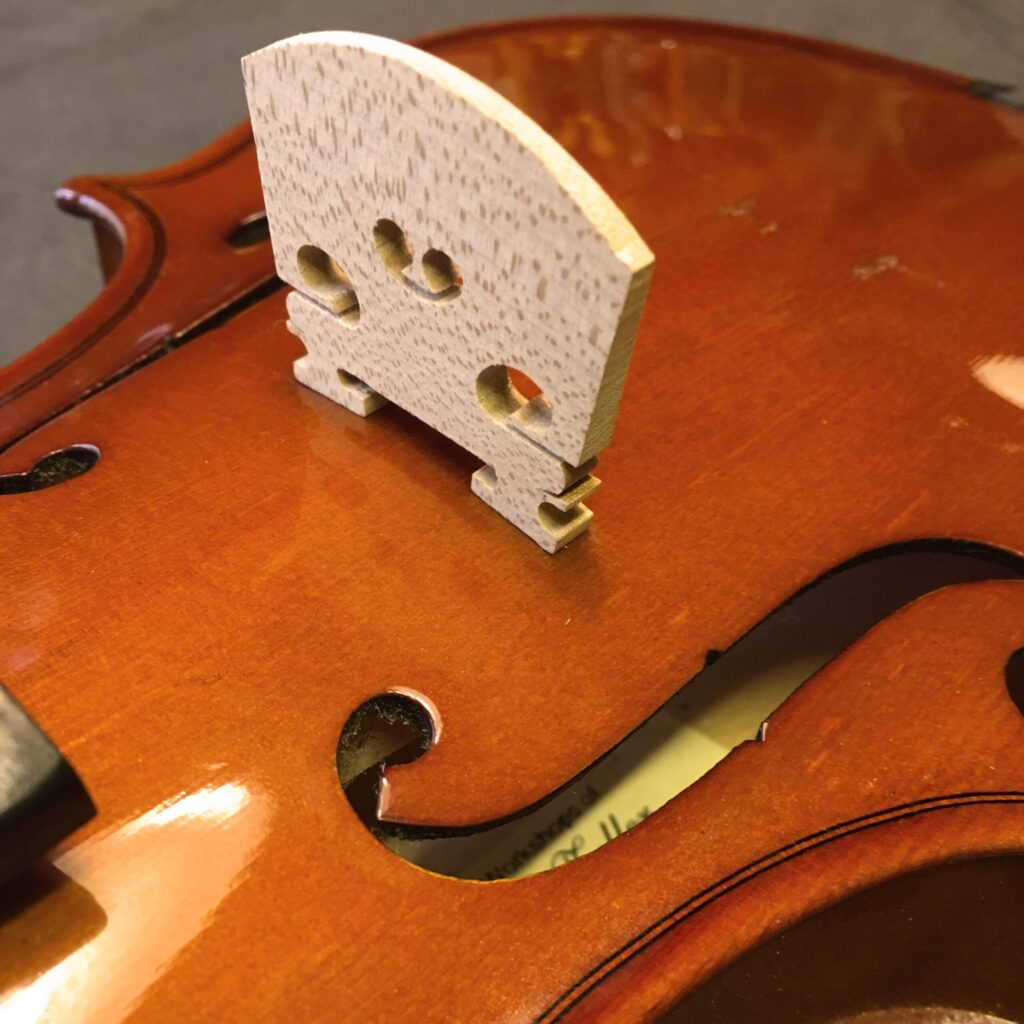
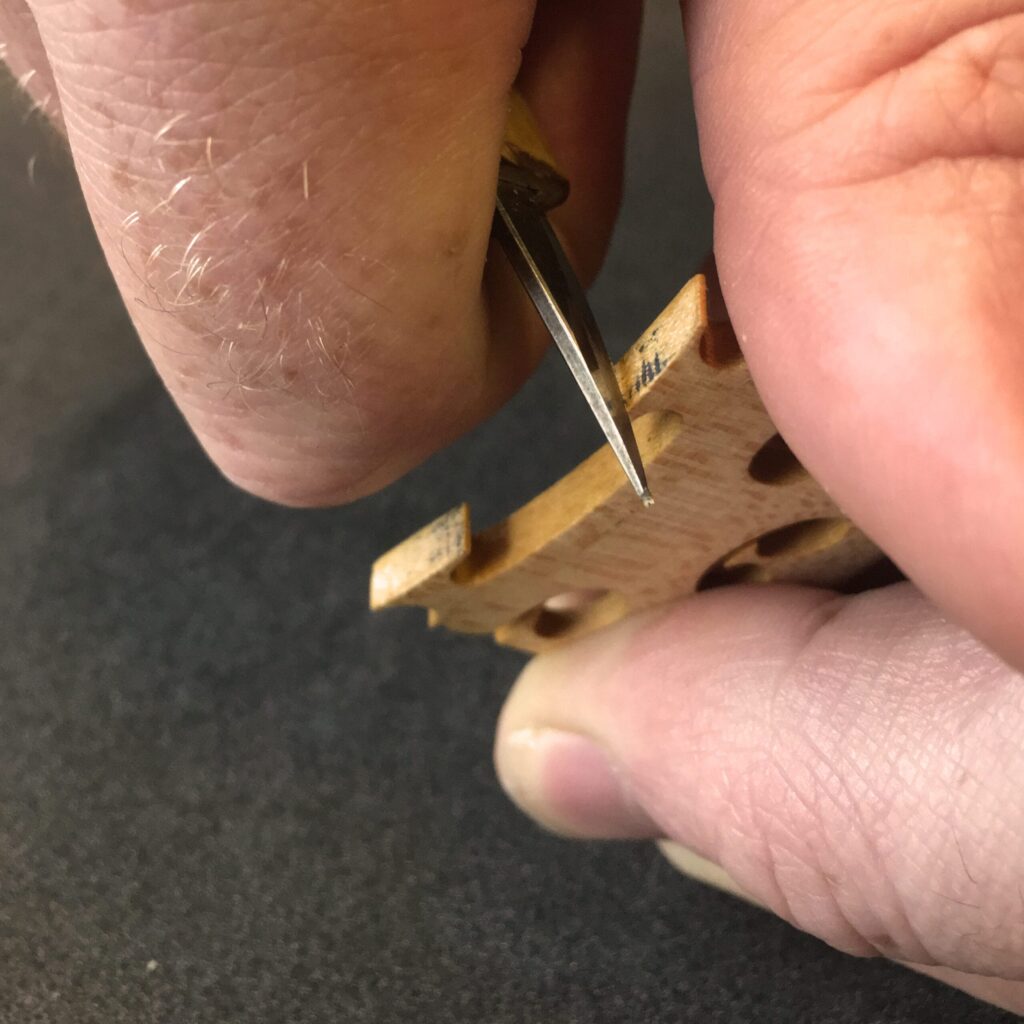
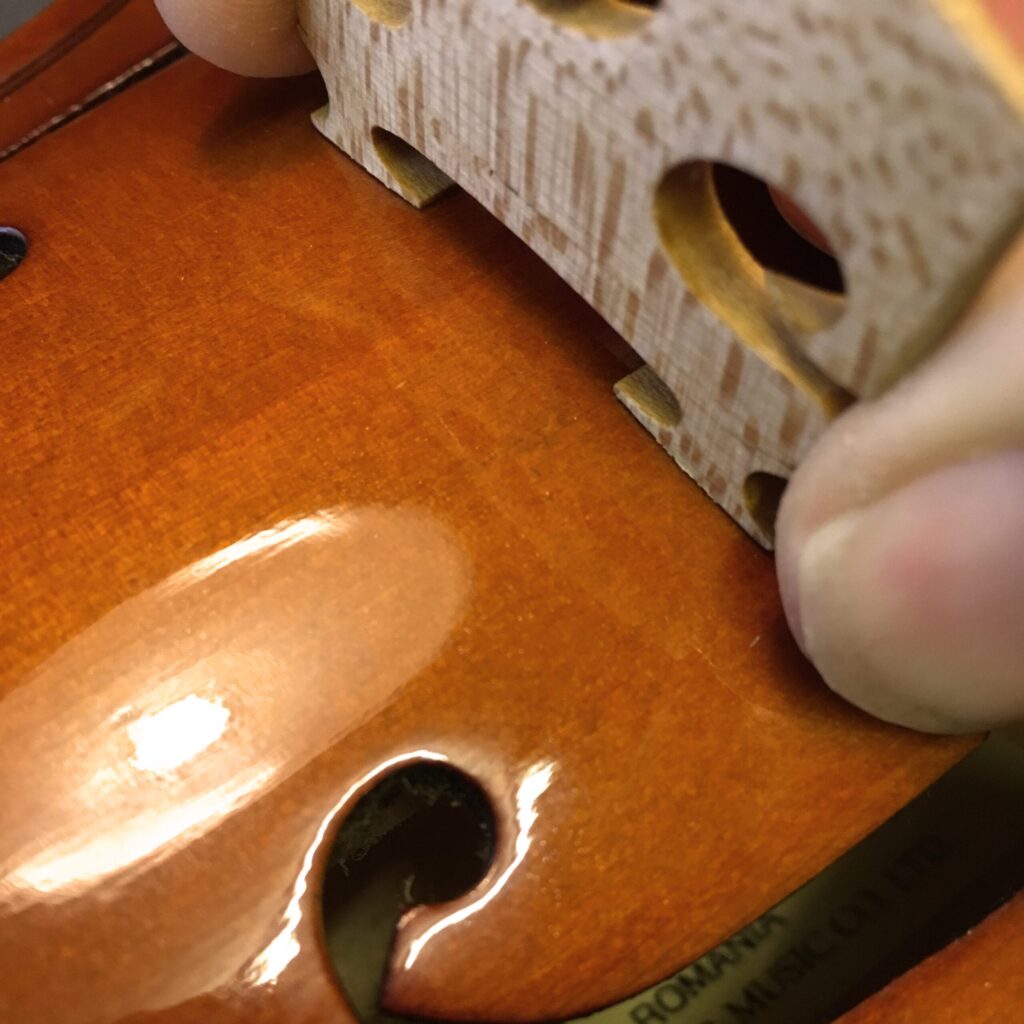
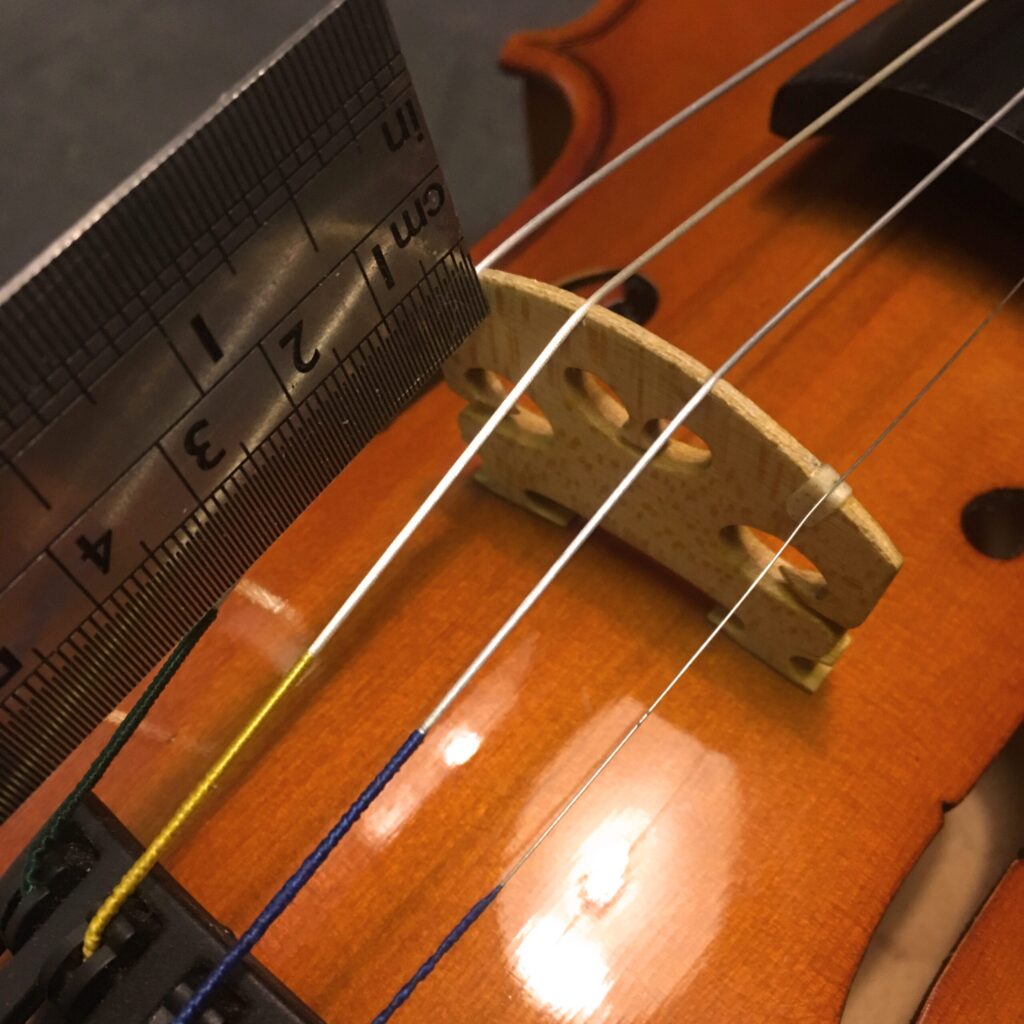
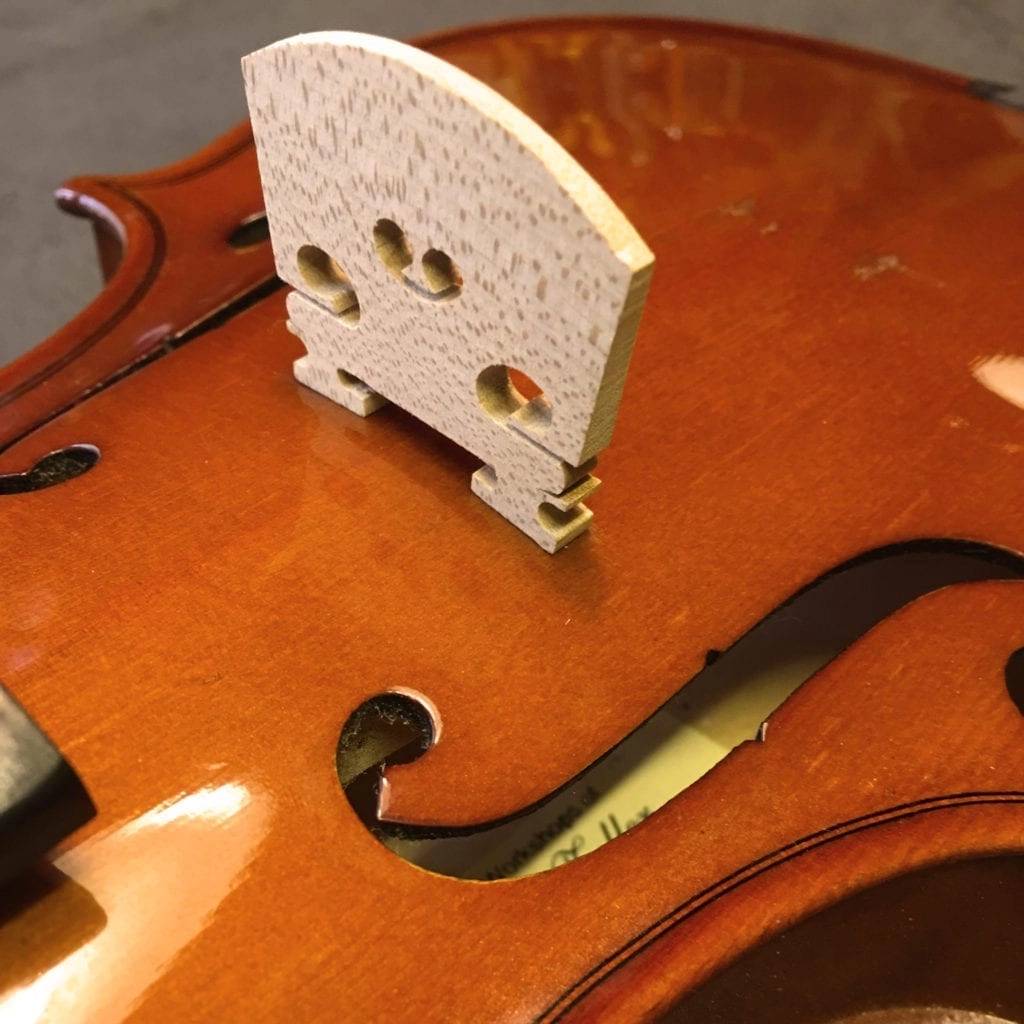
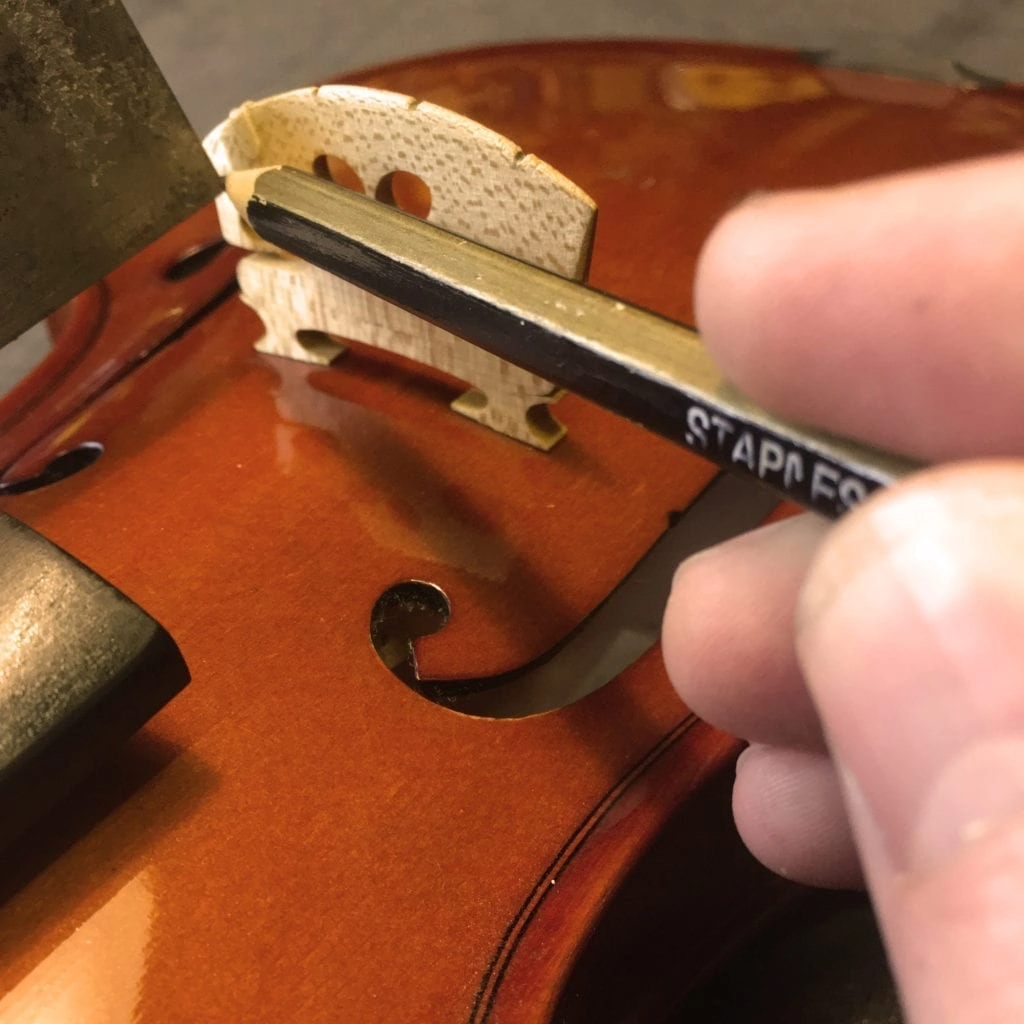
Correct bridge fitting is very important for both sound and how easy the violin/viola is to play. A violin/viola purchased straight from the box will have a higher bridge to compensate for other areas of the violin/viola/viola set up not being correct. For a beginner this makes it harder to press the strings down, and especially hard for a younger player. The bridge feet must match the contour of the violin/viola body exactly, down to the finest detail. Once they are matched the bridge height is measured, and the excess material removed from the top of the bridge and the string slots are then cut.
Need to hire a violin? Hire today in our online store
Bridge & Tailpiece Positioning
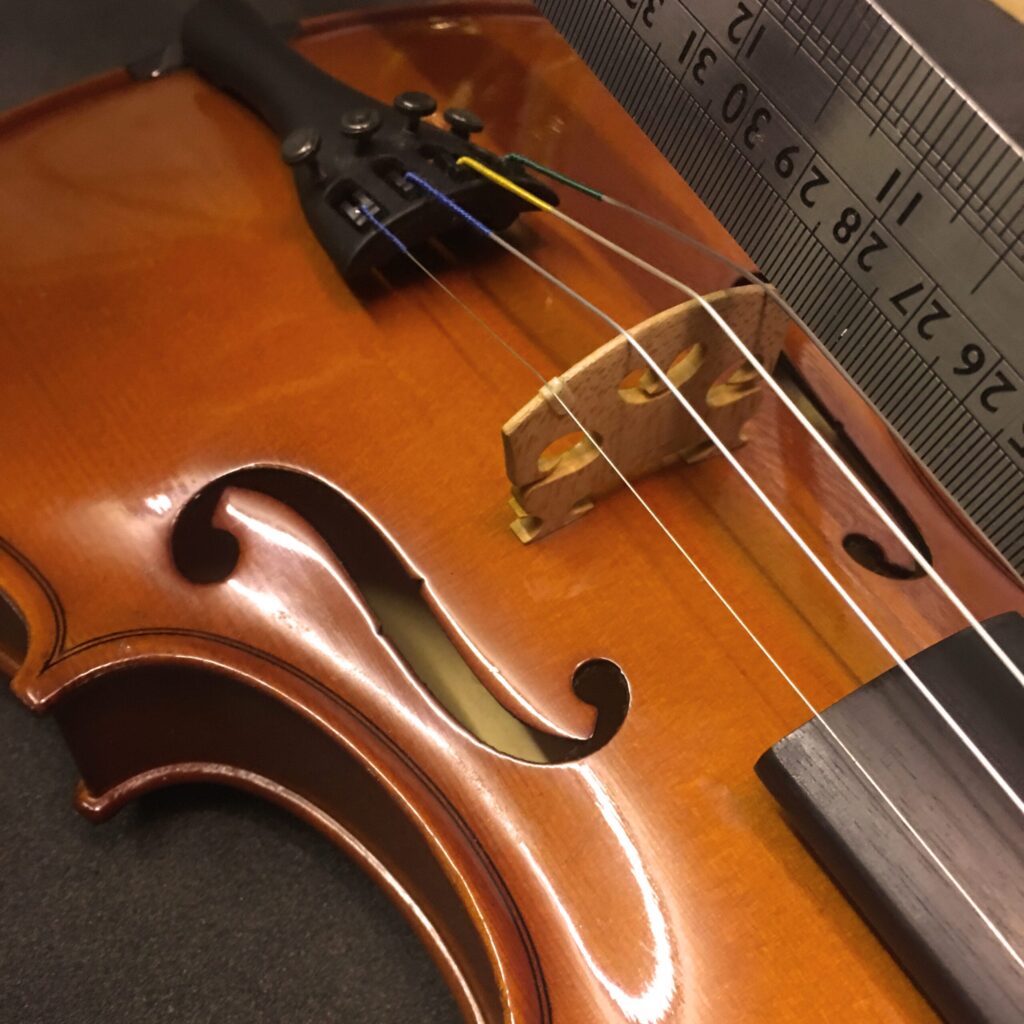
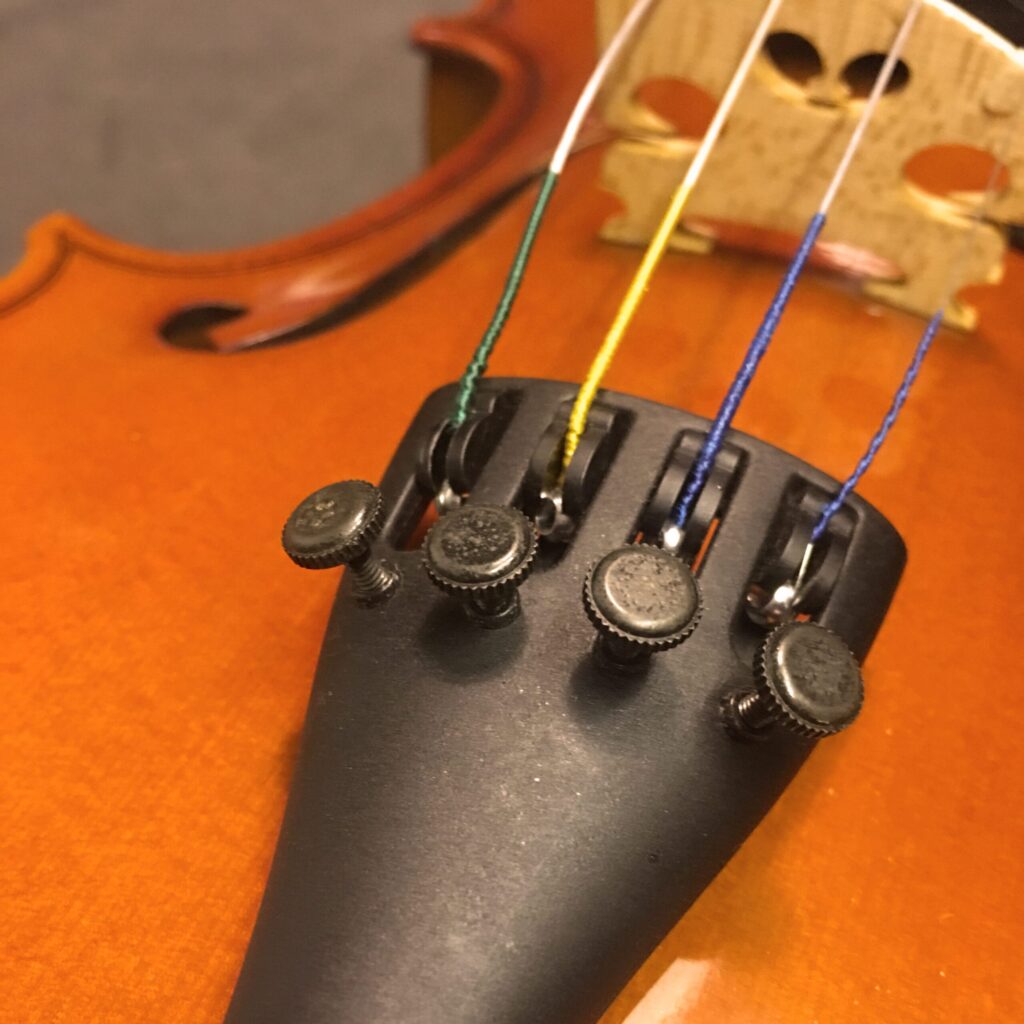
There are lots of measurements that have to be correct when setting up a violin/viola. The distance from the nut to the bridge and then tailpiece has to be spot on. Most student violins/violas come with low quality tailpieces which have low quality fine tuners that often stop working, and the tail gut can stretch causing tuning & intonation problems.
Violin Set Up Video
[video_embed url="https://www.youtube.com/watch?v=Js66vtigBs4"]


